windows 10 1909 2004 20H2 access share network drive Error
– DNS Client it seems is used to cache DNS entries – so disabling it may lead to slow downs in page loading but not much more then that in “regular” configurations using only TCP/IP (no netbios or multiple networks involved here). To quote one source, this service is a “target of attacks which poisons the cache with fake DNS entries” sometimes.
after use Regedit to change the Dnscache’s start type to auto=2,
HKEY_LOCAL_MACHINE\SYSTEM\CurrentControlSet\services\Dnscache, and locate Start registry key
Change Startup type : =2
Automatic -2
Manual -3
Disabled -4
Automatic (Delayed Start) -2
จากนั้น Restart เครื่อง , the DNS CLIENT SERVICE status turns into STARTED, and the mapped drive works now.
กรณีขึ้น
Windows 10 Event ID 7001.
ERROR : The service cannot be started, either because it is disabled or because it has no enabled devices associated with it.
can not map the drive using IP address of fileserver
ดูใน Error EVENT log for SOURCE: Service Control Manager, with EVENT ID 7001, with DNS Client service was disabled and stopped-remote access connection manager service failed.
Thus, i wondering how to – enable DNS Client Service. currently i is running under the account “Network Service”, local builtin administrator account can’t make change to this.
1.Enable the SMB 1.0 support by enabling the following Windows features from the Control Panel, then see if you could access the share:
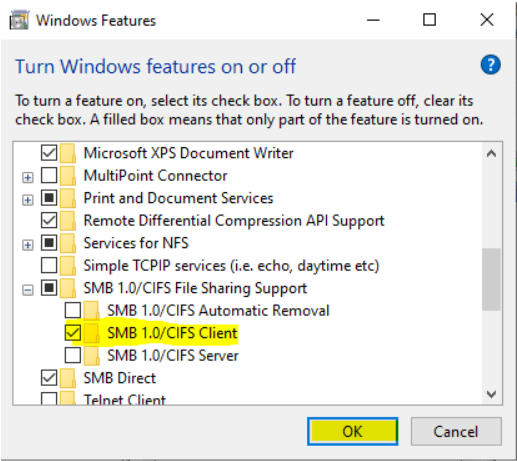
Windows Feature
SMB 1.0/CIFS Client
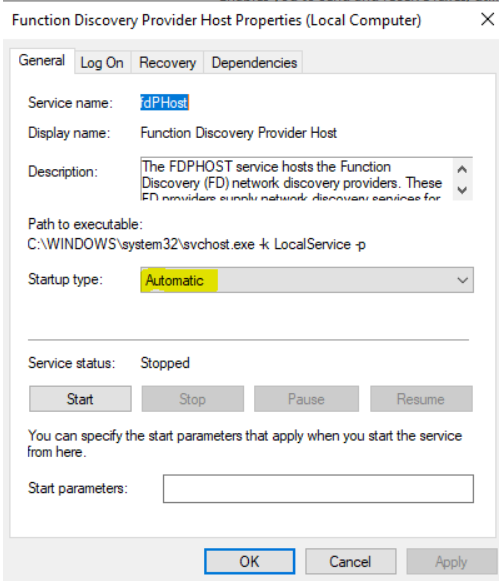
2.Change the following services startup type from Manual to Automatic:
– Function Discovery Provider Host
– Function Discovery Resource Publication
– SSDP Discovery
– UPnP Device Host
3.
|
1 |
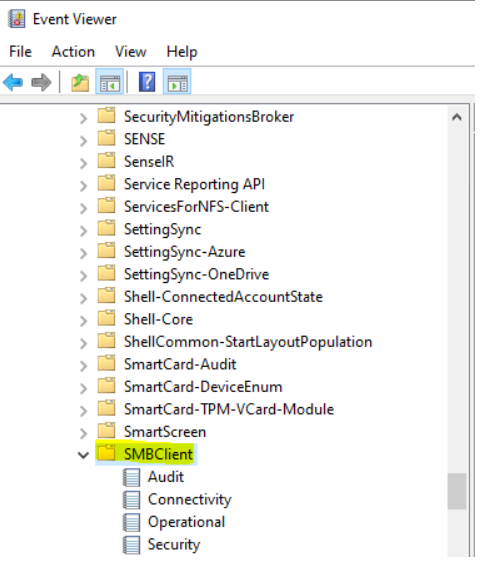
หากขั้นตอนข้างต้นยังไม่ได้ผล ตรวจสอบการเข้าสู่ระบบ SMBclient บน windows 10 เพื่อดูว่ามีสิ่งที่เกี่ยวข้องให้เราแก้ไขปัญหาหรือไม่ |